




Blog
IPS Installation Guide — Step by Step for Bangladeshi Homes

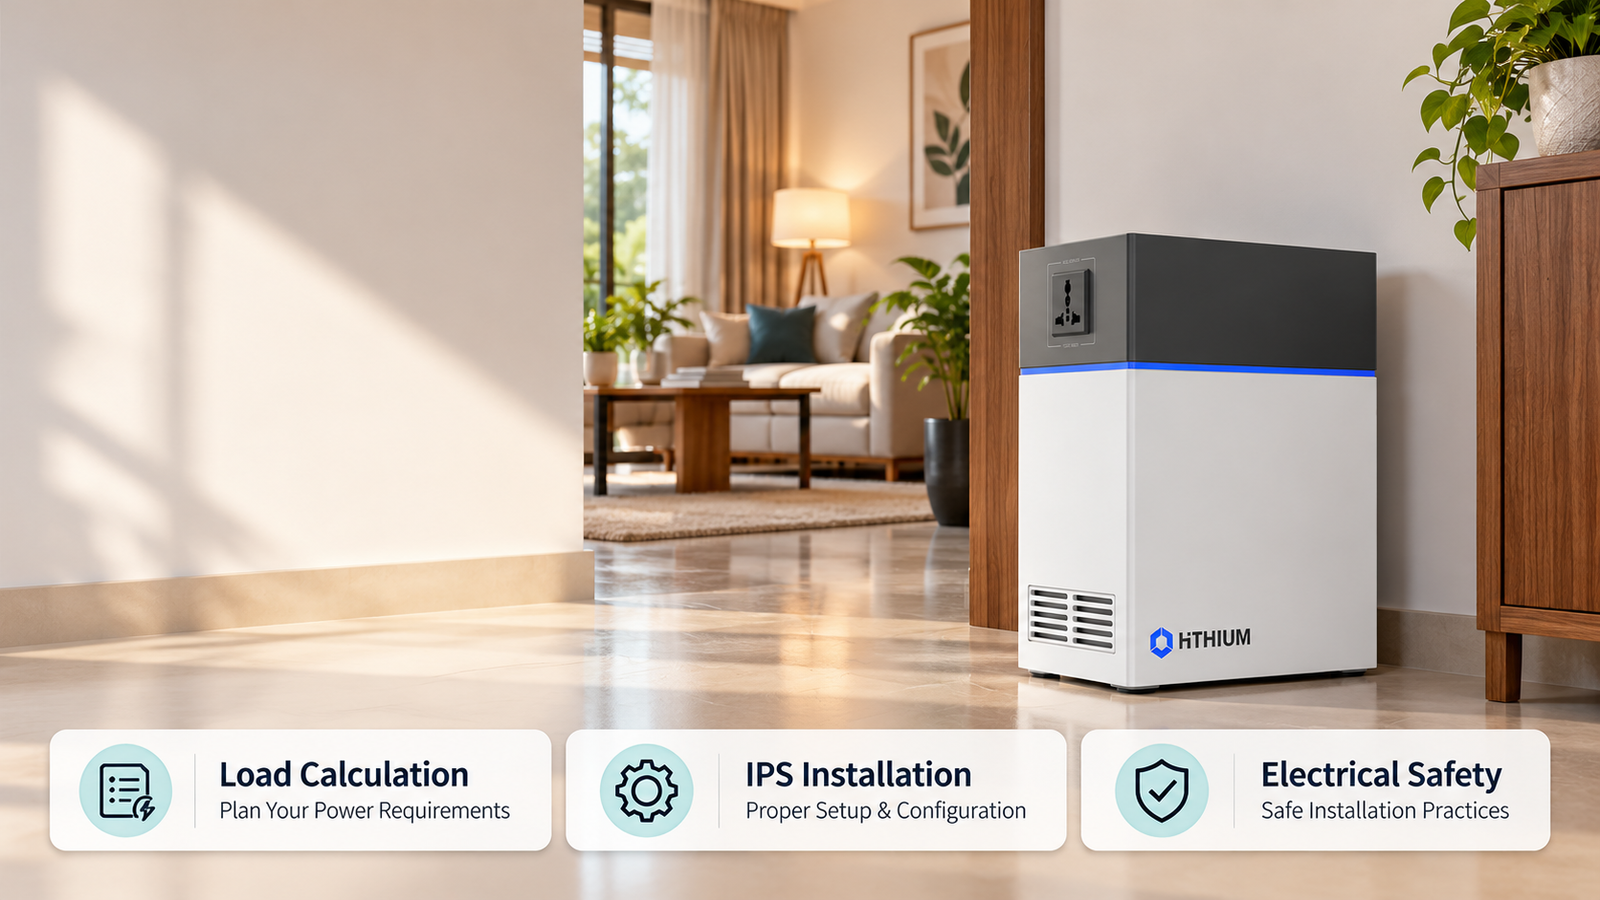
Installing an IPS (Instant Power Supply) correctly is the difference between smooth backup power during load shedding and a dangerous — even fatal — electrical accident. Every year, dozens of Bangladeshis are injured by improper IPS wiring: overheated cables, short circuits, and inverters catching fire.
This step-by-step IPS installation guide for Bangladesh covers everything you need: load calculation, wire sizing, safety equipment, battery placement, and the exact wiring sequence to follow. Whether you are installing a new lithium IPS or replacing an old tubular battery system, this guide applies.
Step 1: Calculate Your Load Before Buying Anything
The most common IPS installation mistake in Bangladesh is buying the wrong capacity. Homeowners guess, underbuy, and then overload the inverter within the first week.
Here is how to calculate correctly:
Load Calculation Table
| Appliance | Typical Wattage | Units Running | Total Watts |
|---|---|---|---|
| Ceiling fan (56 inch) | 80W | 3 | 240W |
| LED lights (20W) | 20W | 8 | 160W |
| LED TV (43 inch) | 80W | 1 | 80W |
| WiFi router | 15W | 1 | 15W |
| Phone charger | 20W | 2 | 40W |
| Typical home total | ~535W |
Add 20% safety margin: 535W × 1.2 = 642W minimum inverter capacity. A 600VA or 800VA IPS covers this comfortably. Never run at 100% of rated capacity — it shortens the inverter life and triggers thermal shutdowns on hot Dhaka days.
Do NOT connect to IPS: air conditioners (unless you have a dedicated AC IPS), water pumps above 0.5HP, electric kettles, microwave ovens, or induction cookers. These high-inrush loads damage standard IPS inverters instantly.
Step 2: Gather Tools and Safety Equipment
Before starting any wiring work, collect every item on this list. Starting without the right tools is how accidents happen.
Tools Required
- Insulated screwdrivers (Phillips and flat, rated 1000V)
- Wire stripper / cutter
- Crimping tool and cable lugs (for battery terminals)
- Multimeter (to verify voltages)
- Drill with wall bit (for mounting IPS on wall bracket)
- Measuring tape
Safety Equipment (Non-Negotiable)
- Insulated rubber gloves (rated minimum 500V)
- Safety goggles
- Non-conductive footwear
- Fire extinguisher nearby (CO2 type, not water)
Materials to Buy
| Item | Specification | Approximate BDT Cost |
|---|---|---|
| Battery cable (copper, flexible) | 10mm² or 16mm², 2 meters | 150–300 |
| Cable lugs (ring terminal) | 10mm² or 16mm² size | 40–60 |
| MCB (Miniature Circuit Breaker) | 20A or 32A, single pole | 80–150 |
| IPS changeover switch / MCB box | 2-way changeover switch or automatic changeover unit | 300–800 |
| House wire (2.5mm² or 4mm²) | As needed for IPS circuit | Per meter |
| Battery stand or rack | Steel, powder coated | 300–600 |
Step 3: Choose the Right Location
IPS inverter placement and battery placement are separate decisions. Get both right.
IPS Inverter Location
- Ventilated area: The inverter generates heat during operation. Never install inside a closed cabinet or almirah. Leave at least 20cm clearance on all sides.
- Away from moisture: Bathrooms, kitchens, and balconies are unsuitable. Moisture causes corrosion on the PCB and is a shock hazard.
- Near the main electrical panel: Shorter cable runs reduce voltage drop and installation cost.
- Accessible height: Mount on a wall bracket 1–1.5 meters from floor for easy LED/display reading.
Battery Location (Lithium vs Tubular)
Lithium IPS batteries (LiFePO4) — such as the HiTHIUM lithium battery — can be placed indoors in living spaces because they do not off-gas hydrogen during charging. This is a major safety advantage over tubular batteries.
Tubular batteries must be kept in a ventilated room or outside. During charging they produce hydrogen gas which is explosive. Many Bangladeshi apartment fires have been caused by tubular battery hydrogen igniting near a spark.
Keep any battery within 1 meter of the inverter to minimize cable length and resistance losses.
Step 4: Install the Battery
This step must be done before connecting any AC wiring. Always work on the battery side first — DC voltages are lower but battery current capacity is enormous (hundreds of amperes available for short circuits). Treat it with full respect.
- Place battery on the stand in its final location. Do not slide it on the floor — battery terminal damage occurs.
- Do not connect the battery yet. Lay the cable but leave the terminal bolts loose.
- Strip 15mm of insulation from both ends of both battery cables (red = positive, black = negative).
- Crimp cable lugs onto both ends. Use the correct lug size for your cable gauge. A poor crimp joint is a future fire hazard.
- Connect the NEGATIVE cable first to the battery negative terminal. Then connect positive. This order minimizes arc risk.
- Connect the other ends to the inverter’s DC input terminals — again, negative first, positive second. Check polarity twice before tightening. Reversed polarity destroys the inverter instantly.
Step 5: Wire the AC Changeover Circuit
This is the most important step. The changeover circuit determines how your home switches between mains power and IPS output. In Bangladesh, two methods are common:
Method A: Manual Changeover (Cheaper, DIY-Friendly)
A 2-way manual changeover switch routes either mains or IPS power to a dedicated IPS circuit in your home. You flip the switch manually when power cuts.
Wiring sequence:
- Turn OFF the main MCB at your DB (distribution board). Verify with multimeter that no voltage is present.
- Run a wire from your main DB output to the MAINS input of the changeover switch.
- Run a wire from the IPS output terminal to the IPS input of the changeover switch.
- Run the output of the changeover switch to the IPS sub-circuit in your home (fans, lights, TV sockets).
- Connect earth/ground through all points.
- Install an MCB (20A for typical home loads) on the IPS output line before the changeover switch output.
Method B: Automatic Changeover (Recommended for Modern Homes)
Modern lithium IPS units — including HiTHIUM models — have built-in automatic transfer switching (ATS). When mains power fails, the IPS detects the dropout and switches to battery power within 10–20 milliseconds. When mains returns, it transfers back automatically.
With automatic changeover, you simply:
- Connect mains input to the IPS AC input terminals (labeled “MAINS IN” or “AC IN”).
- Connect the IPS AC output terminals to your home IPS sub-circuit.
- The built-in ATS handles switching. No external changeover switch needed.
This is cleaner, safer, and eliminates the need for manual switching during power cuts — critical for late-night load shedding.
Step 6: Set Up the IPS Sub-Circuit
Your home’s IPS circuit should power only the loads you calculated in Step 1 — not your entire home. Many Bangladeshi homeowners make the mistake of putting the whole apartment on IPS. This overloads the inverter when the refrigerator compressor kicks in.
How to Create an IPS Sub-Circuit
- At your main DB, identify which circuits you want on IPS: typically bedrooms, living room fans, lights, TV points.
- Run new 2.5mm² wiring from the changeover switch output to IPS-designated sockets and switches.
- Label the IPS sockets clearly (a red dot sticker or “IPS” label). This prevents confusion about which sockets work during power cuts.
- Do not mix IPS and non-IPS circuits on the same ring.
Step 7: First Power-On Checklist
Before switching on for the first time, verify every connection using this checklist:
- ☐ Battery polarity confirmed: positive to positive, negative to negative
- ☐ All cable lugs crimped tightly, no exposed copper visible
- ☐ Battery cable secured with no sag that could contact metal surfaces
- ☐ IPS chassis earthed to main earth point
- ☐ MCB installed on IPS output circuit
- ☐ Mains AC input wired correctly (Live, Neutral, Earth verified with multimeter)
- ☐ IPS output circuit labeled
- ☐ No tools or loose materials left near battery terminals
- ☐ Ventilation clearance around inverter verified (20cm all sides)
If all boxes are checked, switch on the IPS. The display should show battery voltage (typically 12.8V or 25.6V for lithium, 12V–13V for tubular). Switch on mains — the IPS should show CHARGING status. Test the changeover by switching off your main MCB briefly: IPS should seamlessly take over with no flicker on LED lights.
Step 8: Configure Battery Settings (Lithium IPS Only)
If you installed a lithium IPS (LiFePO4 battery), configure these settings correctly before regular use:
| Setting | LiFePO4 12V | LiFePO4 24V | Why It Matters |
|---|---|---|---|
| Charging voltage | 14.4–14.6V | 28.8–29.2V | Do not overcharge — damages BMS |
| Float voltage | 13.6V | 27.2V | Reduces long-term charge stress |
| Low voltage cutoff | 11.0–11.5V | 22.0–23.0V | Prevents deep discharge damage |
| Battery type setting | Set to “Li” or “LFP” | Set to “Li” or “LFP” | Prevents tubular charge profile being used |
HiTHIUM lithium IPS units come pre-configured for LiFePO4. If replacing batteries on an existing inverter, update these settings manually via the inverter menu before connecting the new battery.
For authoritative guidance on choosing the right battery type, see our guide to the best lithium battery for IPS in Bangladesh.
Common IPS Installation Mistakes in Bangladesh
| Mistake | Risk | Prevention |
|---|---|---|
| Using undersized battery cable | Cable fire, melted insulation | Use 10mm² minimum, 16mm² for 1000W+ |
| Connecting without MCB protection | Short circuit = inverter destroyed | Always install MCB on output circuit |
| Reversed polarity on battery | Instant inverter failure (not covered by warranty) | Double-check before tightening terminals |
| Tubular battery indoors (no ventilation) | Hydrogen gas fire / explosion | Ventilate room or switch to lithium IPS |
| Overloading IPS with fridge or AC | Inverter burns, battery deep-discharged | Calculate load, exclude high-inrush appliances |
| Skipping earthing connection | Shock hazard to family members | Connect chassis earth at installation time |
IPS Installation Cost Summary for Bangladesh 2026
Here is a realistic cost breakdown for a complete IPS installation in a typical Dhaka apartment (800VA lithium IPS + 100Ah LiFePO4 battery):
| Item | Cost (BDT) |
|---|---|
| 800VA Lithium IPS (inverter) | 12,000–15,000 |
| 100Ah LiFePO4 battery | 22,000–28,000 |
| Battery cable + lugs + MCB | 400–600 |
| Changeover switch / auto-ATS | 500–800 |
| House wiring (IPS sub-circuit) | 500–1,200 |
| Electrician labor | 800–1,500 |
| Total (typical range) | 36,200–47,100 |
Compare this against the ongoing cost of generator fuel: a 2KVA petrol generator in Dhaka consumes approximately BDT 600–800 of fuel per month during heavy load shedding. The lithium IPS system pays for itself in fuel savings within 4–5 years, then runs essentially free for another 10+ years.
For more cost context, see our Lithium IPS vs Tubular Battery cost comparison and our best IPS brands in Bangladesh guide.
Frequently Asked Questions
Can I install an IPS myself in Bangladesh?
Basic IPS connection (battery to inverter, inverter to load circuit) can be done by a careful homeowner. However, main panel changeover wiring should be done by a licensed electrician for safety and code compliance.
How much does IPS installation cost in Bangladesh?
Electrician labor for IPS installation in Bangladesh costs BDT 500–1,500 depending on job complexity. Wiring materials (cable, MCB, socket) add another BDT 300–800. Total installation cost is typically BDT 800–2,300 (not including the IPS and battery themselves).
What cable size is needed for IPS battery connection?
Use a minimum 10mm² (AWG 8) flexible copper cable for battery-to-inverter connection. For high-capacity systems (1500VA+), use 16mm² or thicker. Never use aluminum wire for battery connections.
How do I protect my IPS from overload?
Install a correctly rated MCB on the IPS output circuit. Never exceed 80% of the inverter’s VA rating with connected loads. Modern lithium IPS units like HiTHIUM models have built-in overload protection that shuts down before damage occurs.
Do I need a separate earthing for IPS?
Yes. Connect the IPS chassis earth terminal to your home’s main earth (ground) point. This is critical for safety. Never float the earth — an unearthed IPS chassis can give electric shock if insulation fails inside the inverter.
How far should the battery be from the IPS inverter?
Keep the battery as close to the inverter as possible — ideally within 1 meter. Longer cable runs increase resistance, cause voltage drop, reduce efficiency, and can cause the battery cable to overheat under heavy load.
Ready to Install? Start with the Right IPS
A correct installation starts with the right equipment. HiTHIUM’s lithium IPS range is designed for Bangladeshi homes — with automatic transfer switching, built-in BMS protection, and LiFePO4 chemistry that is safe to install indoors even in Dhaka apartments.
Browse our full range at the HiTHIUM Bangladesh shop or contact us to get a free load assessment for your home before purchasing.
Recommended HiTHIUM Products
Based on your needs, here are the best HiTHIUM lithium IPS and power station options for Bangladesh:
| Product | Capacity | Best For | Price |
|---|---|---|---|
| HiTHIUM HeroEE 2 (1000W, 2kWh) | 1000W, 2kWh | Medium homes, fridge+ fans + TV | ৳78,100 |
| HiTHIUM HeroEE 16 (16kWh) | 16kWh | Large homes, offices, factories | ৳3,36,000 |
Free delivery across Bangladesh. WhatsApp us for consultation: Contact HiTHIUM

5 thoughts on “IPS Installation Guide — Step by Step for Bangladeshi Homes”