




Blog
Lithium Battery Bus Bar Wiring: How to Connect Multiple Batteries Safely

Expanding your lithium battery bank by connecting multiple units is the most practical way to scale backup power for a growing home or business in Bangladesh. But the wiring between those batteries — specifically the bus bars — determines whether your system runs safely for decades or becomes a fire hazard within months.
This guide walks you through everything you need to know about lithium battery bus bar wiring: what bus bars are, why they matter, how to size them, and the exact step-by-step process for connecting multiple LiFePO4 batteries safely in a Bangladeshi home or commercial setting.
What Is a Bus Bar and Why Does It Matter for Lithium Batteries?
A bus bar is a flat, conductive strip — typically made of copper or aluminum — that serves as a common electrical junction for connecting multiple batteries together. Instead of running individual wires from every battery terminal to the next, bus bars provide a single, low-resistance pathway for current to flow across the entire battery bank.
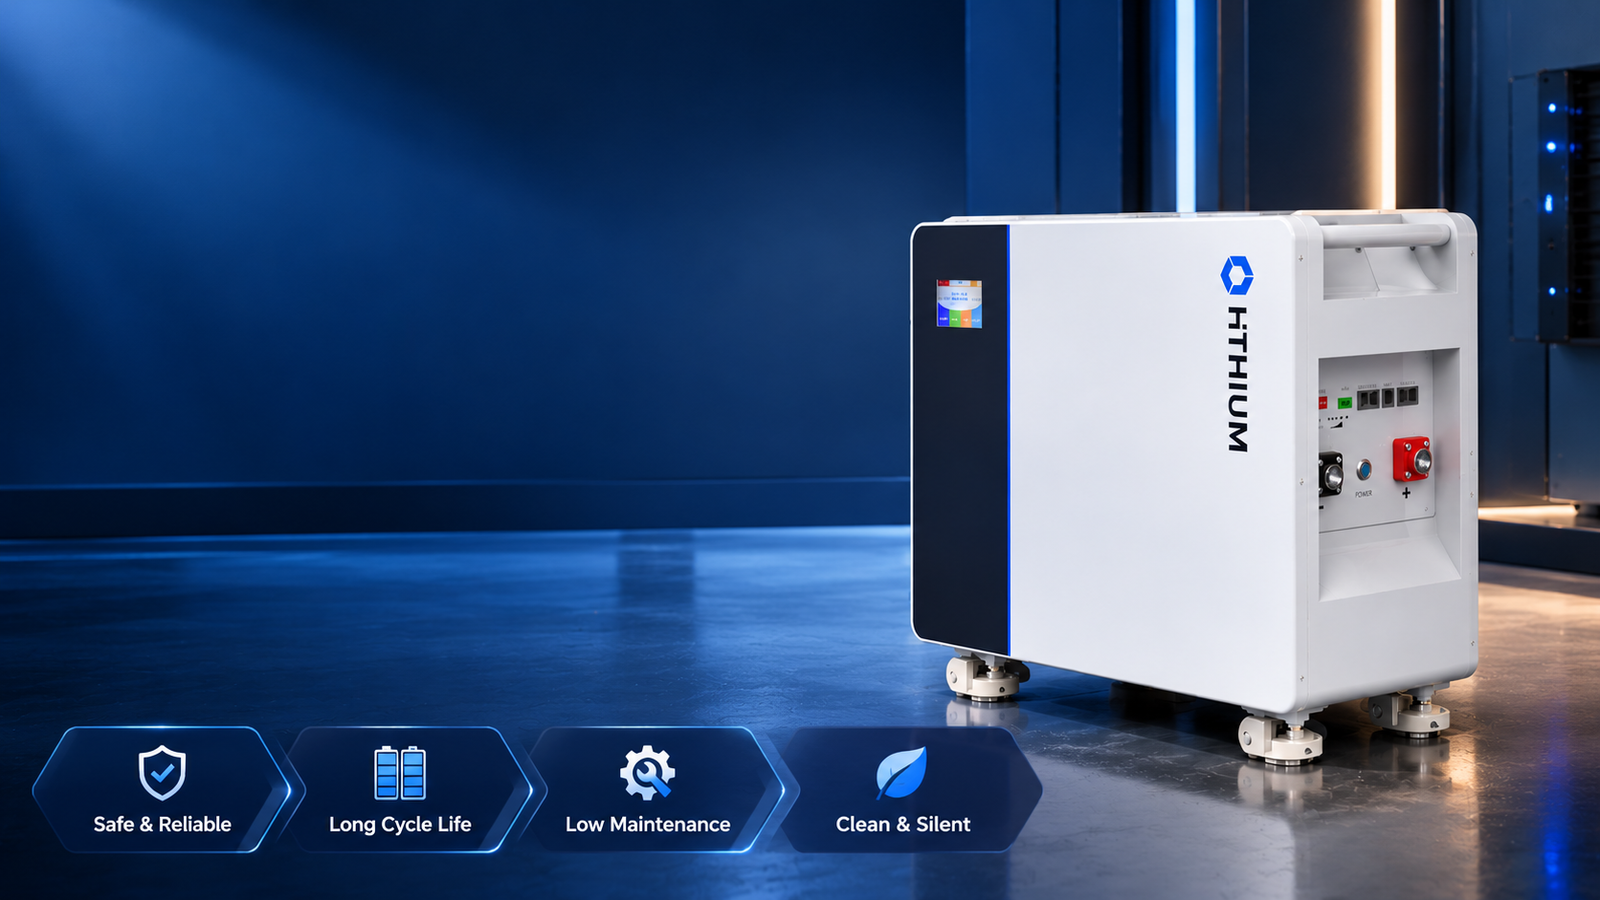
For lithium iron phosphate (LiFePO4) batteries like the HiTHIUM HeroEE 16, which supports up to 16 units in parallel for a massive 256 kWh capacity, proper bus bar wiring is not optional — it is a safety requirement.
Why do bus bars matter so much for lithium systems specifically?
- High current handling: LiFePO4 batteries can discharge at very high rates. The HeroEE 16, for example, handles a recommended charge/discharge current of 100A and a maximum of 200A. Inadequate bus bars will overheat under this load.
- Cell balancing: When multiple batteries are connected, the Battery Management System (BMS) in each unit must communicate to balance charge levels. Poor bus bar connections create voltage imbalances that reduce battery life.
- Low resistance path: Copper bus bars have significantly lower resistance than wire cables of the same gauge. This means less energy lost as heat and more efficient power delivery to your appliances.
- Scalability: Systems like the HeroEE 16 use M8 bolt terminals specifically designed for bus bar connections. This modular design makes it easy to add more batteries as your power needs grow.
Series vs Parallel: Which Wiring Configuration Do You Need?
Before choosing bus bars, you need to decide whether to wire your batteries in series, parallel, or a combination of both. Each configuration serves a different purpose.
Parallel Connection (Same Voltage, More Capacity)
In a parallel configuration, all positive terminals connect together and all negative terminals connect together. The voltage stays the same, but the total amp-hour (Ah) capacity increases.
For example, connecting two 51.2V 314Ah LiFePO4 batteries in parallel gives you 51.2V at 314Ah — doubling your runtime without changing the voltage your inverter expects.
This is the most common configuration for Bangladeshi homes because:
- Most residential IPS and inverter systems operate at 48V or 51.2V
- Parallel connections are safer — if one battery fails, the others continue operating
- The BMS in each battery handles overcurrent protection independently
- The HiTHIUM HeroEE 16 is designed for parallel scalability, supporting up to 16 units in a single bank
Series Connection (Higher Voltage, Same Capacity)
In a series connection, the positive terminal of one battery connects to the negative terminal of the next. Voltage increases while capacity stays the same.
Two 51.2V 100Ah batteries in series produce 102.4V at 100Ah. This is used in larger commercial or industrial systems that require higher voltage for more efficient power transmission over longer cable runs.
Series connections require careful attention because a single weak battery in the string limits the performance of the entire chain. Only connect batteries of the same brand, model, age, and state of charge in series.
Series-Parallel Combination
For maximum capacity at higher voltage, you can combine both methods. For instance, four 51.2V 100Ah batteries wired as two parallel pairs connected in series gives you 102.4V at 200Ah — a 20.48 kWh system.
Choosing the Right Bus Bar Material and Size
The bus bar material and cross-sectional area directly affect safety and efficiency. An undersized bus bar will overheat under load, potentially melting insulation and starting a fire.
Copper vs Aluminum Bus Bars
| Feature | Copper Bus Bar | Aluminum Bus Bar |
|---|---|---|
| Conductivity | 100% (reference) | 61% of copper |
| Weight | Heavier | ~30% lighter |
| Cost | Higher | Lower |
| Corrosion resistance | Good (with tin plating) | Forms oxide layer |
| Recommended for | Home IPS, solar, high-current | Budget commercial installs |
| Torque stability | Excellent — holds bolt torque | Requires spring washers |
For residential lithium battery banks in Bangladesh, copper bus bars are strongly recommended. The higher conductivity means you can use a thinner bar for the same current rating, and copper maintains a reliable electrical connection over years without the loosening issues common with aluminum.
Bus Bar Sizing by Current
Use the following table as a quick reference for sizing copper bus bars based on the maximum current your battery bank will carry:
| Maximum Current (A) | Minimum Bus Bar Size | Cross-Section (mm²) | Typical Application |
|---|---|---|---|
| Up to 80A | 10mm × 2mm | 20 mm² | Single battery, small UPS |
| 80–150A | 15mm × 3mm | 45 mm² | 2-4 batteries parallel, home IPS |
| 150–300A | 20mm × 4mm | 80 mm² | 4-8 batteries parallel, small business |
| 300–500A | 25mm × 5mm | 125 mm² | 8-16 batteries parallel, commercial |
| 500A+ | 30mm × 6mm or custom | 180+ mm² | Large industrial battery banks |
The HiTHIUM HeroEE 16 uses M8 bolt terminals with a recommended continuous current of 100A. For a system with 4 or more HeroEE 16 units in parallel, plan for at least 20mm × 4mm copper bus bars rated for the total combined discharge current.
Step-by-Step: How to Wire Lithium Batteries with Bus Bars
Follow these steps carefully. Always disconnect all power sources before working on battery connections.
Step 1: Plan Your Wiring Layout
Before touching any tools, draw a diagram of your battery bank showing:
- The number of batteries and their positions
- Whether each connection is series or parallel
- The bus bar locations between battery terminals
- The main positive and negative connections going to the inverter or charge controller
- Fuse or circuit breaker locations on the main positive line
For a typical Bangladeshi home IPS setup with 2–4 LiFePO4 batteries, a parallel configuration with one bus bar on the positive side and one on the negative side is the simplest and safest approach.
Step 2: Gather Your Materials
- Copper bus bars cut to length (or pre-made battery bus bars with M8 holes)
- M8 stainless steel bolts, washers, and spring washers
- A torque wrench (critical for consistent bolt tightness)
- Insulated battery cables for the main connections to your inverter
- Fuse holders and appropriate fuses (one per battery for parallel systems)
- Heat-shrink tubing and cable lugs
- Dielectric grease for terminal protection
- Insulated bus bar covers or fish paper for short-circuit protection
Step 3: Prepare the Bus Bars
- Clean the bus bar surfaces with isopropyl alcohol to remove oxidation
- Apply a thin layer of dielectric grease to prevent future corrosion
- Pre-drill or verify that bolt holes match your battery terminal spacing
- If cutting custom bus bars, deburr all edges — sharp edges can puncture insulation and cause short circuits
- Label each end (positive and negative) to avoid confusion during installation
Step 4: Connect the Bus Bars to Battery Terminals
- Ensure all batteries are fully charged to the same voltage level before connecting. Connecting batteries at different charge levels causes high circulating currents that can damage cells and trip the BMS.
- Start with the negative bus bar. Place the bus bar across all negative terminals.
- Thread M8 bolts through the bus bar into each terminal by hand first.
- Tighten to the manufacturer’s specified torque — typically 10–12 Nm for M8 terminals on LiFePO4 batteries. Over-tightening strips threads; under-tightening creates high-resistance connections that generate heat.
- Repeat for the positive bus bar.
- Install individual fuses on each battery’s positive connection to the bus bar. This ensures that if one battery develops a fault, the fuse blows and isolates it from the rest of the bank.
Step 5: Connect to the Inverter
- Run the main positive cable from the positive bus bar to the inverter’s battery input, through a properly rated circuit breaker or fuse.
- Run the main negative cable from the negative bus bar to the inverter’s negative input.
- Verify cable gauge is sufficient for the total current draw. For a system pulling 200A at 48V (9.6 kW), use minimum 2/0 AWG (50mm²) copper cable.
- Ensure all connections are tight and secured with strain relief.
Step 6: Test and Commission
- Double-check all connections with a multimeter before energizing.
- Verify there are no short circuits between positive and negative bus bars.
- Power on the inverter and check that the BMS in each battery reports normal status.
- Monitor battery temperatures during the first hour of operation.
- Check all bus bar connections for heat after 30 minutes of load using an infrared thermometer. Any connection showing more than 10°C above ambient temperature needs re-tightening.
Common Bus Bar Wiring Mistakes to Avoid
These errors cause the majority of lithium battery bank failures in Bangladeshi installations:
| Mistake | Risk | Prevention |
|---|---|---|
| Mixing battery brands or models | Uneven charge/discharge rates, reduced lifespan | Use identical batteries from the same manufacturer and batch |
| Using undersized bus bars | Overheating, melted insulation, fire | Size bus bars for maximum expected current plus 25% safety margin |
| Overtightening bolt connections | Stripped threads, cracked terminals | Use a torque wrench set to manufacturer specs (10–12 Nm for M8) |
| Ignoring polarity during connection | Immediate short circuit, BMS damage | Label all terminals and double-check before every connection |
| No fuses on individual batteries | A single faulted battery can damage the entire bank | Install a fuse on each battery’s positive terminal |
| Connecting batteries at different charge levels | High circulating currents, cell imbalance | Charge all batteries to 100% before connecting in parallel |
| Skip bus bar insulation | Accidental short circuit from dropped tools or debris | Use insulated bus bar covers or fish paper barriers |
What Size Bus Bar Do I Need for My Lithium Battery Bank?
The size of your bus bar depends on the total maximum current your battery bank will carry. For a typical Bangladeshi home with 2–4 LiFePO4 batteries connected in parallel through a 3000VA–5000VA IPS, the combined maximum discharge current will be between 60A and 120A. A 15mm × 3mm copper bus bar rated for 150A is sufficient for most residential setups.
If you are scaling up to 8 or more batteries for a commercial installation — such as a restaurant, office building, or HiTHIUM HeroEE 16 battery bank — you need bus bars rated for 300A or higher. Consult the HeroEE 16 specifications: with a maximum charge/discharge current of 200A per unit, 8 units in parallel could theoretically demand 1600A total (though the BMS and inverter will limit actual draw). Size your bus bars for the real-world load, not the theoretical maximum.
How Do I Know If My Bus Bar Connections Are Safe?
After installation, perform these checks monthly during the first three months, then quarterly thereafter:
- Visual inspection: Look for discoloration (darkening or bluing) on bus bars or terminals — this indicates overheating.
- Thermal scan: Use an infrared thermometer during operation. All connections should be within 5°C of each other. Any connection more than 10°C above ambient needs attention.
- Torque check: Re-torque all M8 bolts to 10–12 Nm. Copper bus bars can relax slightly during the first weeks as the metal conforms to the contact surface.
- Multimeter check: Measure voltage across each bus bar segment. The voltage drop should be less than 0.1V between any two points on the same bus bar. Higher voltage drop indicates a poor connection.
- BMS status: Check that each battery’s BMS reports no error codes and that all cells within each battery are balanced (cell voltage difference less than 0.05V).
Maintenance Tips for Long-Term Bus Bar Performance
Bus bar connections in Bangladeshi environments face specific challenges — high humidity, dust, and temperature fluctuations between seasons. Follow these maintenance practices to keep your battery bank running safely:
- Apply dielectric grease to all connection points every 6 months to prevent corrosion from humidity.
- Check bolt tightness during extreme temperature changes — the transition from hot season (March–June) to monsoon (July–October) causes thermal expansion and contraction that can loosen connections.
- Keep the battery area clean. Dust accumulation on bus bars creates a path for moisture absorption, increasing the risk of corrosion and tracking (electrical discharge across the surface).
- Install bus bar covers. In homes with children or in commercial spaces where maintenance staff may access the battery area, insulated covers prevent accidental short circuits.
- Document your wiring diagram. Keep a copy near the battery bank so any electrician or technician working on the system can understand the configuration without guessing.
For a complete maintenance routine beyond bus bars, see our IPS maintenance checklist which covers battery terminals, cooling, and overall system health.
HiTHIUM Battery Products Compatible with Bus Bar Wiring
HiTHIUM offers several lithium battery products designed for scalable bus bar installations:
| Product | Capacity | Voltage | Terminal Type | Max Parallel Units | Max Bank Capacity |
|---|---|---|---|---|---|
| HeroEE 16 | 16 kWh | 51.2V DC | M8 Bolt | 16 | 256 kWh |
| L12314ES | 4.019 kWh | 12.8V DC | M8 Bolt | Up to 4 (series) | 48V / ~16 kWh |
All HiTHIUM battery products ship with built-in BMS protection including overcurrent, short-circuit, and reverse polarity protection. The M8 bolt terminals are specifically sized for standard copper bus bars, making system expansion straightforward.
Browse our full product catalog to find the right battery configuration for your needs, or contact our team for a free consultation on designing your battery bank.
Frequently Asked Questions
Can I mix different brands of lithium batteries in the same bank?
No, you should never mix different brands or models of lithium batteries in the same bus bar bank. Different manufacturers use different BMS algorithms, cell chemistries, and charge/discharge curves. Connecting mismatched batteries causes uneven load sharing, which reduces the lifespan of all batteries in the bank and can create safety hazards. Always use identical batteries from the same manufacturer and, ideally, the same production batch.
What is the difference between a bus bar and a battery cable?
A bus bar is a rigid, flat conductive strip (usually copper or aluminum) used to connect multiple battery terminals together at a single point. Battery cables are flexible, insulated wires used to connect the bus bar to your inverter, charge controller, or other equipment. Bus bars are preferred for inter-battery connections because they offer lower resistance, better heat dissipation, and a more secure mechanical connection than cables. Use cables only where flexibility is needed, such as the final connection from the bus bar to the inverter.
How tight should bus bar bolts be on lithium batteries?
For M8 bolt terminals on LiFePO4 batteries like the HiTHIUM HeroEE 16, the recommended torque is 10–12 Nm (Newton-meters). Always use a torque wrench rather than guessing — over-tightening can strip the threads or crack the terminal housing, while under-tightening creates a high-resistance connection that generates dangerous heat. Re-check all torque values after the first week and again after the first month, as new connections can settle slightly.
Do I need fuses on each battery in a parallel bus bar system?
Yes, installing a fuse on each battery’s positive connection to the bus bar is strongly recommended. If one battery develops an internal short circuit, it can draw massive current from all the other batteries in the parallel bank. Without individual fuses, this can lead to thermal runaway, melted bus bars, or fire. Size each fuse at 1.25 to 1.5 times the battery’s maximum continuous discharge current rating.
How often should I check my bus bar connections?
Check bus bar connections monthly during the first three months after installation, then quarterly thereafter. During Bangladesh’s hot season (March–June) and the monsoon transition (July–October), the temperature and humidity swings cause thermal expansion and contraction that can loosen bolts. Always re-torque to 10–12 Nm and check for discoloration or heat spots using an infrared thermometer.
Can I expand my HiTHIUM battery bank later by adding more batteries?
Yes, HiTHIUM batteries like the HeroEE 16 are designed for modular expansion. The 16kWh unit supports up to 16 batteries in parallel for a total of 256 kWh. When expanding, ensure the new batteries match the existing ones in brand, model, and age. Charge all batteries to the same voltage level before connecting the new units to the bus bar. The built-in CAN/RS485 communication ports allow the BMS in each unit to coordinate automatically.
What happens if one battery in a parallel bus bar system fails?
In a properly wired parallel system with individual fuses, a failed battery will blow its fuse and disconnect from the bus bar automatically. The remaining batteries continue operating normally, though with reduced total capacity. Replace the failed battery as soon as possible with an identical model, charge it to match the bank voltage, and reconnect. Without individual fuses, a failed battery can draw current from the others and potentially damage the entire bank.
Are copper bus bars worth the extra cost over aluminum?
For residential lithium battery installations in Bangladesh, copper bus bars are worth the investment. Copper offers 100% conductivity compared to aluminum’s 61%, meaning you can use thinner bars for the same current rating. Copper also holds bolt torque better over time, resists corrosion better in humid Bangladeshi conditions, and does not form the oxide layer that increases aluminum connection resistance. The cost difference is typically 20–30%, but the improved safety and reduced maintenance make copper the better long-term choice.
Related reading: Parallel IPS Installation Guide | Lithium Battery Safety in Bangladesh | IPS Backup Time Calculator | Best Lithium IPS in Bangladesh
Need help designing your battery bank? Contact HiTHIUM Bangladesh for a free consultation. Our engineers can design the optimal bus bar configuration for your home or business, ensuring safe, efficient, and scalable power storage.
